You’ve got all the LED panels, the perfect spot picked out, and a video ready to play. But as you start setting up your video wall, the panels don’t align, the display flickers, and nothing looks right.
Don’t worry! Following the correct procedures makes it quicker than you’d expect to assemble a LED video wall. Also a greater and trustworthy supply such as SinaPlug, which has everything you need to make your setup smooth and stress-free.
What Is a LED Video Wall?
Ever been to a concert, stadium, or high-end retail store and seen a massive digital screen?
That is a seamless display created by several LED panels cooperating in a video wall. Unlike a single large TV, video walls can be custom-sized for concerts, advertising, or business presentations. When set up correctly, they deliver stunning visuals—but if done wrong, they can be a nightmare. The important part of LED video wall is LED Display Modules.
Gather What You Need
Before you start to assemble a LED Video Wall, Make sure your LED panels are from the same batch or model to avoid color and brightness differences, then gather all items that you require such as:
- LED Panels: The screens that make up your video wall.
- Mounting Structure: Keeps everything stable and aligned.
- LED Display Controller: The brain that directs material to your LED wall.
- Power Cables & Data Cables: To keep everything connected.
- Connectors: Secure cables so nothing comes loose mid-show.
- A Solid Plan: Know where you are putting your video wall and its intended size.
Once you have all your components ready, it’s time to start building
Assemble the Mounting Structure
A solid mounting structure is the backbone of a great video wall. Misalignment can ruin your display, so take the time to do it right:
Wall-mounted video walls? Use reinforced brackets for even weight distribution.
Freestanding video walls? Secure a strong truss or frame to avoid tilting or movement.
Curved video walls? Make sure your mounting method supports flexible panels with no gaps.
Check Your Alignment! Use a laser level to keep your setup completely straight small misalignments today can lead to big display troubles later!
Attach the LED Panels
Now, the fun part, building your screen!
Start from one corner and continue by building out row by row.
Use locking mechanisms to keep panels connected evenly.
If your panels use magnetic mounting, make sure they snap in securely.
Leave access space for maintenance, just in case!
Note: Power off while connecting panels to avoid electrical issues.
It is time to connect the Power & Data Cables
Now that your video wall structure is set, it’s time to bring it to life! Poor wiring can cause screen glitches, signal lag, or even total failure, so follow these key steps:
Steady Signal Strength: To ensure a free-of-interference data transfer, link your panels via fiber optic or Cat6a cables.
To avoid disconnecting devices by mistake, use locking connectors like Neutrik or weatherproof fittings.
Final Check: Test each panel during setup—catching a bad connection early saves hours of troubleshooting later!
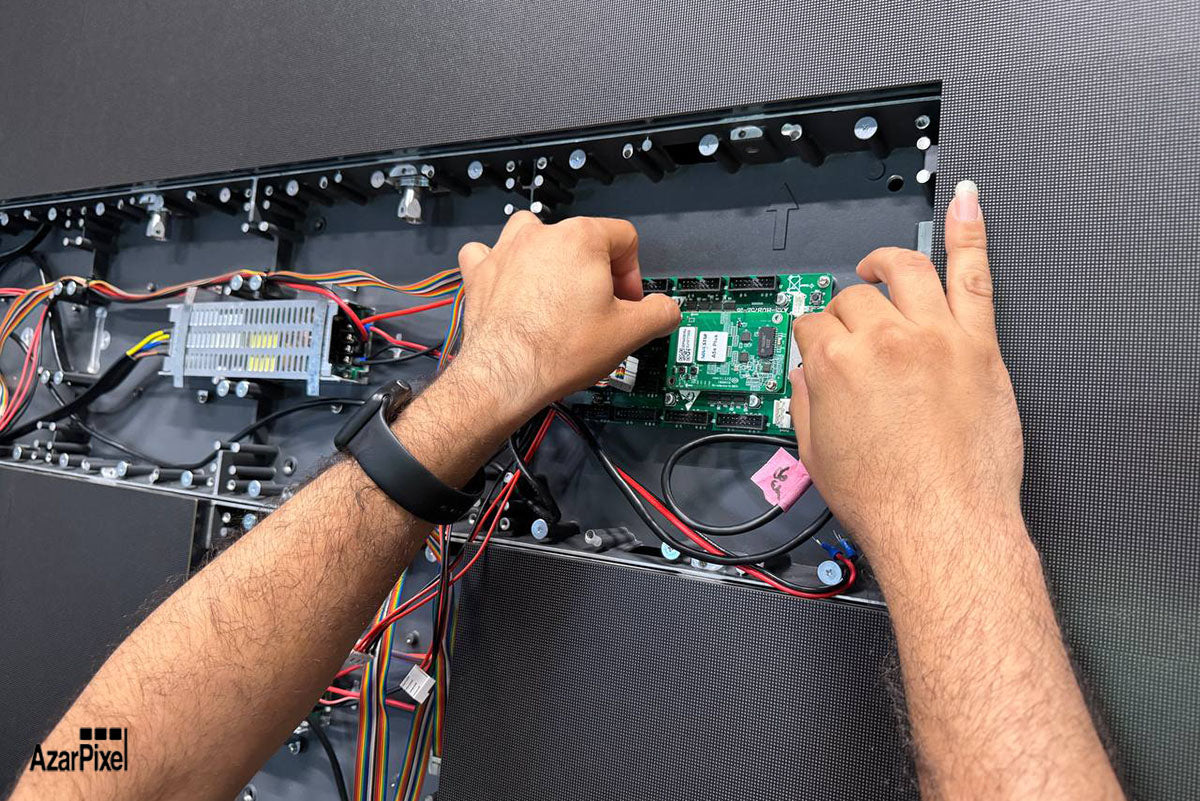
Set Up the Video Controller
The video processor/controller transfers the contents to your LED. Here’s how to set it up:
The controller and the LED panels are connected by HDMI, DVI, or SDI cables.
Adjust the resolution settings to fit your screen size.
Check refresh rate (aim for 1920 Hz or higher for smooth visuals).
Upload test content to confirm accurate placement and color consistency.
Test, Adjust, and Go Live
Before your big event or display launch:
- Run a test video to look for flickering, color mismatches, or dead pixels.
- Fine-tune brightness and contrast and avoid overly bright screens in dark rooms.
- Check for heat buildup. Good ventilation prevents overheating.
- All cables and panels should be secured. Keep in mind that a black screen disaster is equivalent to a loose cable.
Friendly suggestion: Always keep extra cables and connectors on hand for quick fixes!
Common Issues and How to Fix Them
- If the screen flickers, replace the faulty data cables or change the refresh rate.
- If some panels won’t turn on, Check power connections and test cables.
- Use a high-quality video controller to avoid delayed response and for smooth playback.
- Make sure all panels have the same color calibration settings to avoid color inconsistencies.
Final Thoughts
When you assemble a LED video wall perfectly, it avoids stress flickering, and last-minute adjustments, resulting in faultless visuals each time. However, the trick is in the details.
With the right mounting, cables, and controller, your video wall will shine. And at SinaPlug, we’ve got everything you need to make it happen—fast shipping, expert-approved products, and unbeatable prices.