LED Video Wall Installation is more than just connecting a few panels. Whether you’re deploying an LED video wall for a retail store, corporate lobby, church, control room, broadcast studio, or live event, each step in the process plays a critical role in determining both the image quality and the stability of the entire system.
Many common LED video wall and LED panel issues that arise after installation—such as flickering, alignment problems, signal loss, or color inconsistencies—are often attributed to mistakes made during the installation, rather than faults in the hardware itself. To minimize these potential challenges, it’s crucial to use high-quality components during the design phase of your LED video wall.
Additionally, meticulous attention to detail during the LED Video Wall Installation process can make all the difference. This careful approach ensures that your LED video wall operates seamlessly and maintains superior visual quality over time. The key is thorough planning and precision in execution.
A well-installed LED video wall can transform any environment, offering an exceptional viewing experience and serving as a valuable asset. In this blog, we’ll explore the fundamental processes for creating an LED video wall and provide practical tips to guide you toward a reliable and professional installation. Whether you’re a seasoned tech professional or a beginner, these insights will help you achieve the best results for your project.
If you need professional help with your LED Video Wall installation and sourcing spare parts, be in touch with our experts.
What Is an LED Video Wall?
A big digital display created by joining several LED cabinets or panels into a single, continuous screen is called an LED video wall. LED video walls are suitable for a wide range of commercial applications because they can be tailored to nearly any size, aspect ratio, or shape, unlike conventional televisions or monitors.
Shopping malls, corporate offices, airports, sports arenas, places of worship, TV studios, conference centers, and outdoor advertising installations are frequent locations for LED video walls.
A whole system comprising LED modules, receiving cards, power supply, controllers, mounting structures, signal connections, and software is hidden behind each completed display. For seamless, high-quality images to be produced, each component must function properly.
Plan Your LED Video Wall Installation
Successful installations begin long before the first panel is mounted. Before unpacking any equipment, evaluate the installation environment. Take into account the location of the display, the anticipated viewing distance, the amount of wall space that is available, the necessity for ventilation, electrical access, and future maintenance. Weather protection, brightness requirements, and structural support become considerably more crucial if the placement is outside.
Verifying that every LED panel is from the same production batch, wherever feasible, is another aspect of proper planning. This aids in keeping the final display’s hue and brightness constant. Investing more effort in the planning phase helps avoid expensive changes later on.
Gather the Required Equipment
Make sure all necessary equipment is present and compatible with your LED display module system before beginning the installation.
The essential components include:
- LED display panels or cabinets
- Mounting structure
- Video controller
- Power and signal cables
Additional equipment, including receiving cards, power supplies, CPUs, extra modules, and calibration software, can also be needed, depending on the project. Every component should be prepared before LED video wall installation to prevent needless delays and streamline the assembly process as a whole.
Assemble the Mounting Structure
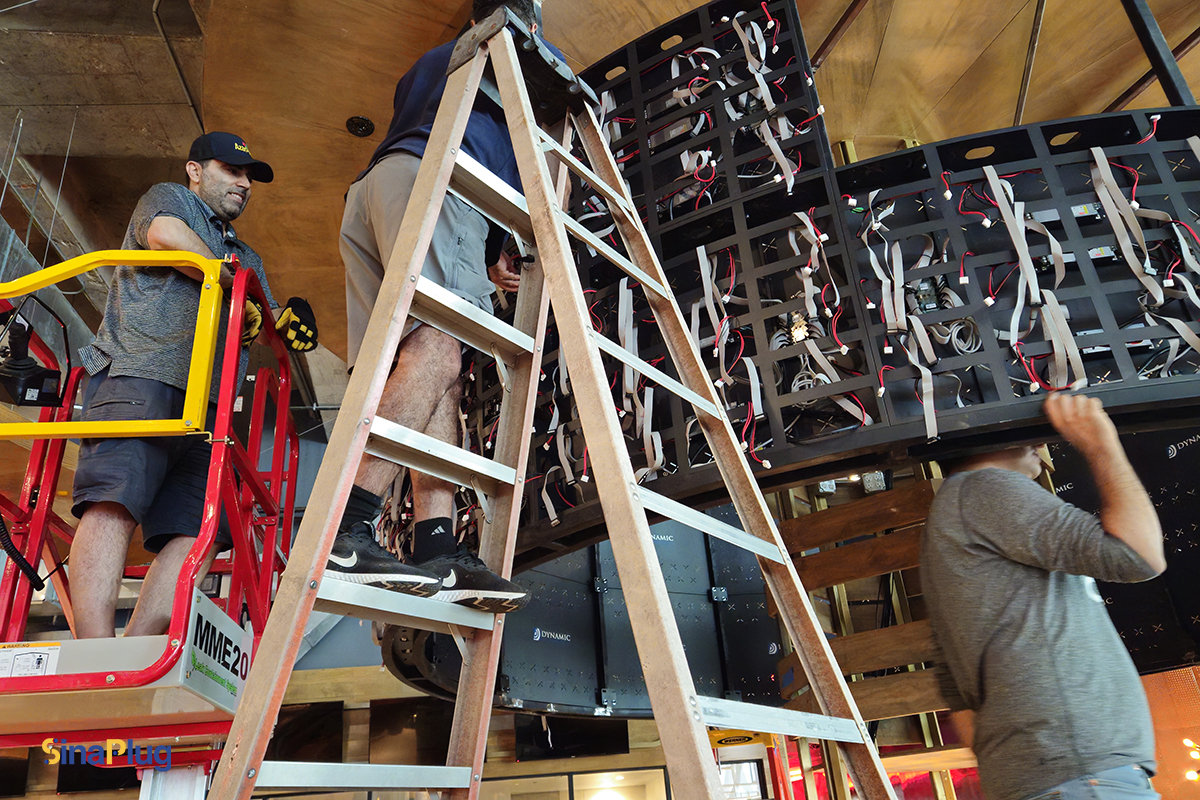
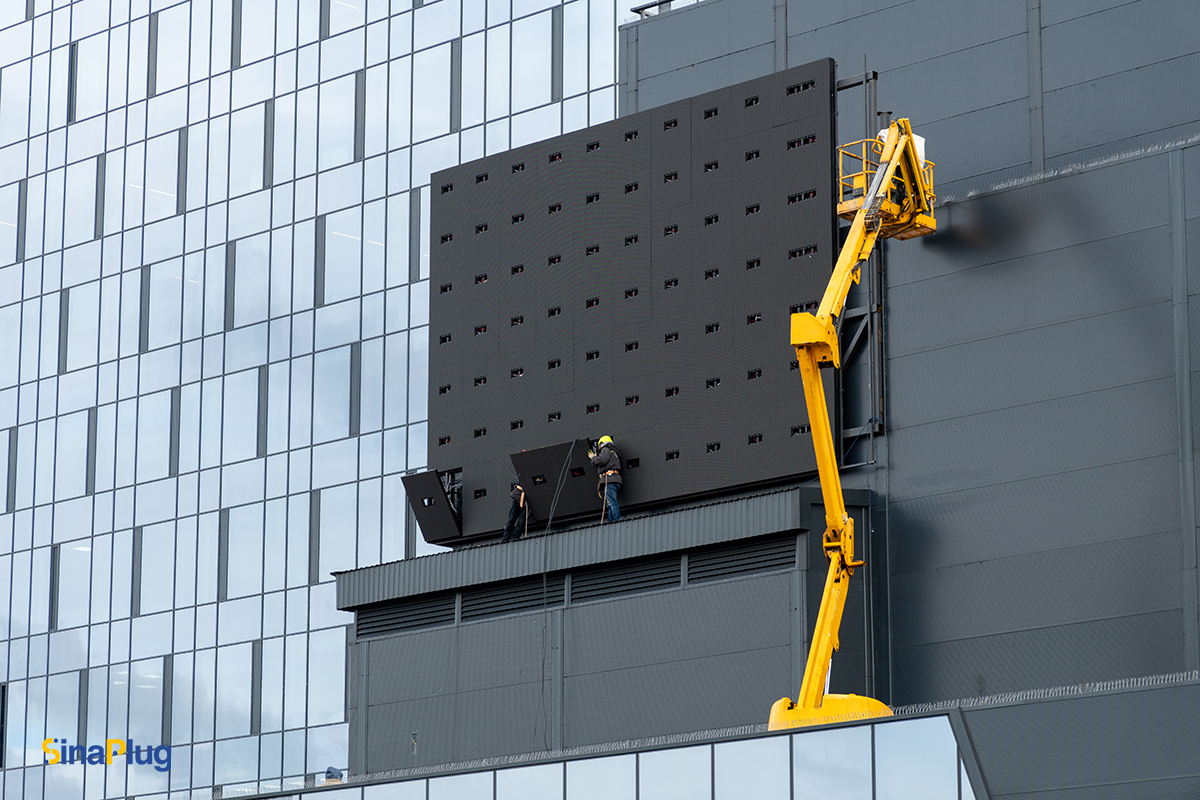
The mounting structure is a critical component in the LED video wall installation. Regardless of whether the display is affixed to a wall, suspended from a truss, or placed on a freestanding frame, the structure must be level, secure, and robust enough to support the weight of the video wall.
Even minor errors during the assembly process can become glaringly obvious once the display is powered on. This is why professional installers rely on precision tools like laser levels to ensure everything is perfectly aligned. Proper installation not only enhances the visual performance but also extends the lifespan of the display. Remember, a solid foundation is key to a successful LED video wall setup!
Also, measuring tools are needed to double-check that each part of the LED video wall is in the correct position. If the LED video wall has curved parts, you must ensure that the mounting structure can accommodate the curve before adding the panels. Taking extra time to get it right can save a lot of trouble later on with the LED video wall.
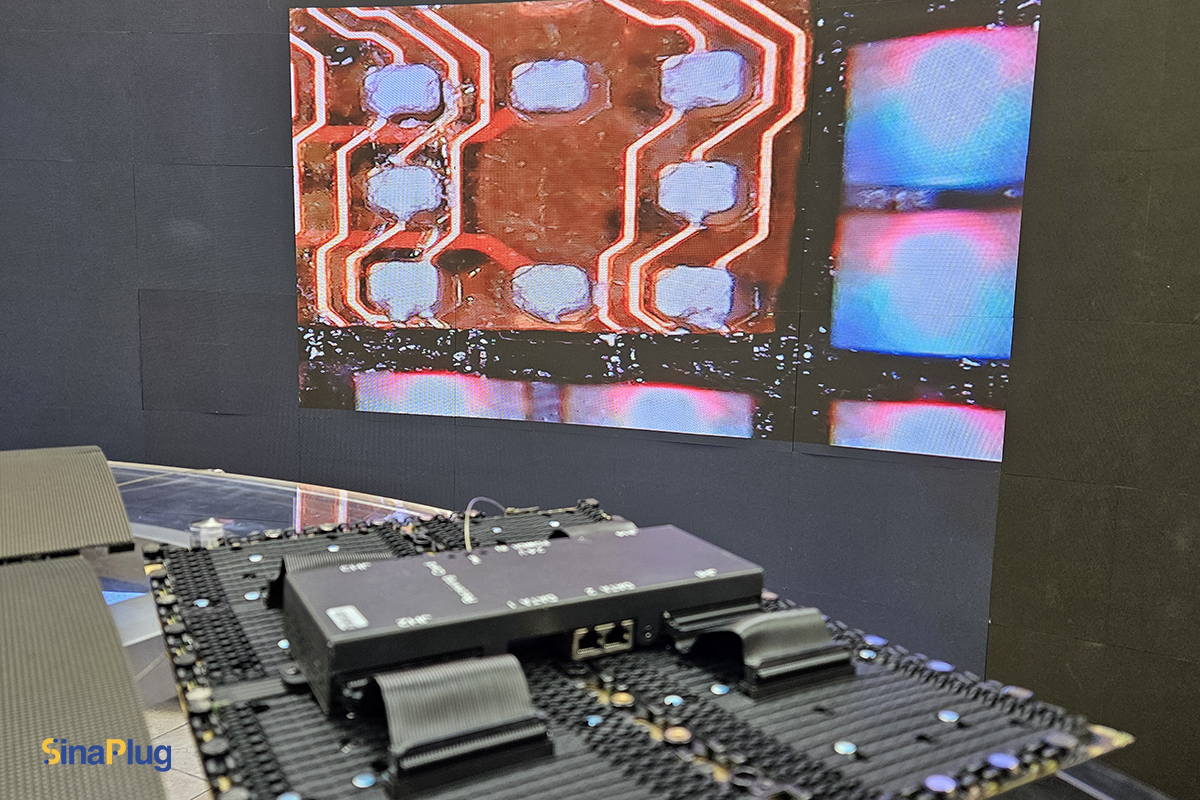
Install the LED Panels
When the mounting structure is complete, the LED cabinets can be installed. Most installers begin in one corner and continue row by row across the display. This systematic approach helps maintain proper alignment and simplifies cable routing. When securing the cabinets, verify that every locking mechanism is fully engaged before moving to the next panel.
Leave enough front or rear service space whenever possible. Easy maintenance access can significantly reduce repair time if a component needs replacement in the future. Always disconnect power before LED video wall installation or removal of LED panels to reduce the risk of electrical damage.
Connect Power and Signal Cables
Once the cabinets are installed, the next step is connecting power and signal distribution.
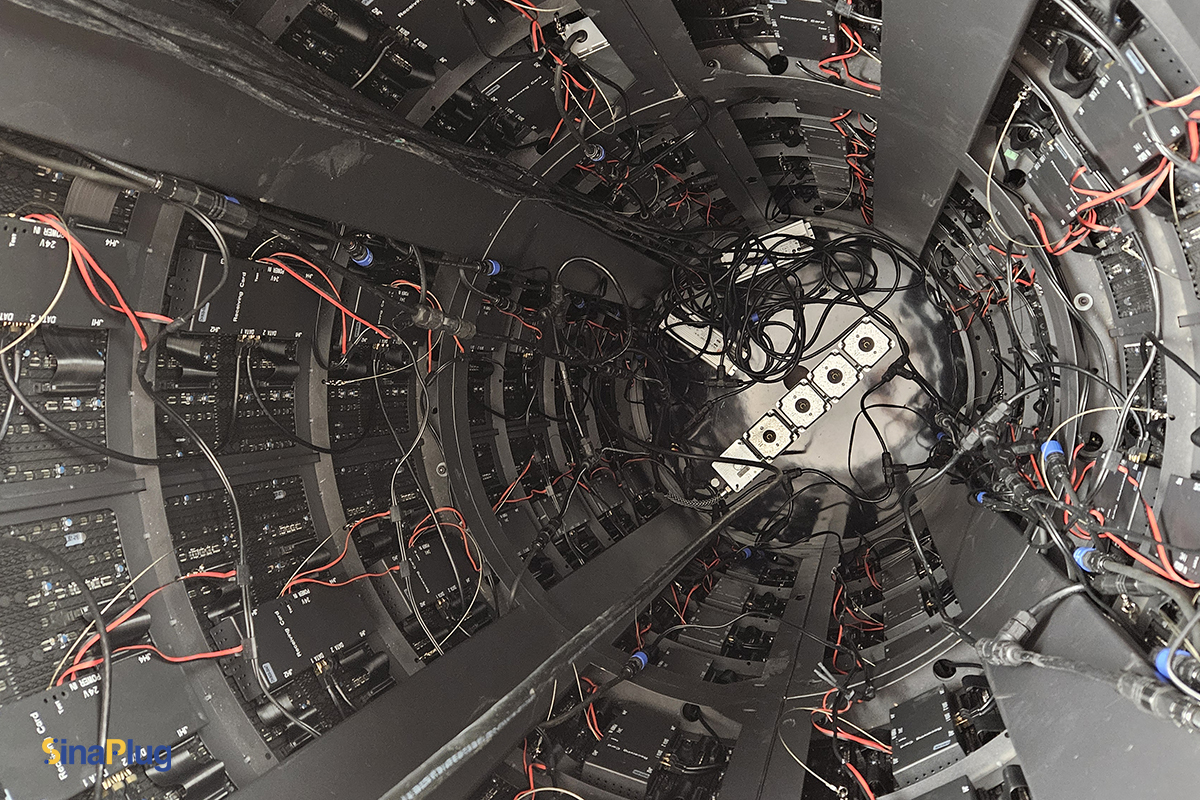
Reliable signal transmission is essential for stable image quality. Depending on the size of the installation, CAT6 cables or fiber optic solutions may be used to connect controllers and receiving cards throughout the display system.
Whenever feasible, power and signal lines should be arranged independently. Effective cable management increases airflow, makes maintenance easier in the future, and lowers the possibility of unintentional cable damage.
Cable runs are labeled during installation by skilled workers. If maintenance is later required, this minor procedure can save a significant amount of troubleshooting effort.
Also, by lowering the chance of unintentional disconnections during operation, locking connectors further increases reliability.
Configure the Video Controller
The video controller acts as the communication hub for the entire LED display. After connecting the controller, configure the display resolution, cabinet layout, screen mapping, refresh rate, and scaling settings according to the manufacturer’s recommendations.
Many professional controllers also provide color calibration, brightness adjustment, redundancy settings, and advanced image processing features. Taking the time to properly configure these settings helps ensure the display performs consistently before it enters regular operation.
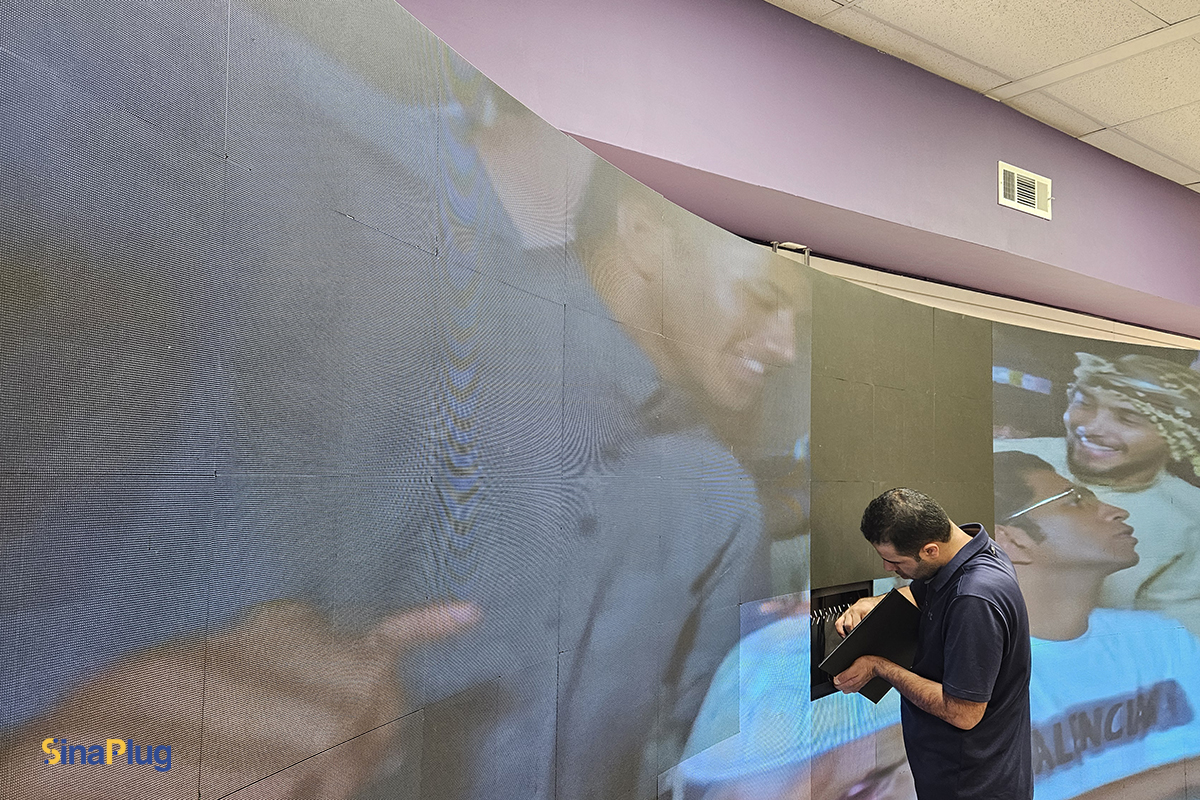
Test the Entire System
Testing should never be treated as the final step—it is an important part of the installation process. Before placing the display into service, inspect every cabinet while the test content is running. Look for flickering, dead pixels, brightness differences, incorrect cabinet mapping, color inconsistencies, or communication errors.
If any issues appear, correcting them before the installation is complete is far easier than returning after the system has been commissioned. Allow the display to operate continuously for a period of time to confirm stable performance under normal operating conditions.
Common LED Video Wall Installation Problems
Even experienced installers occasionally encounter challenges during assembly.
| Problem | Possible Cause | Recommended Solution |
| Screen Flickering | Signal cable or controller issue | Inspect cables and verify controller settings |
| Black Cabinet | Power supply or connection failure | Check power distribution and connectors |
| Color Differences | Calibration mismatch | Perform display calibration |
| Image Delay | Incorrect controller configuration | Review processor and controller settings |
Most installation issues can be resolved through systematic diagnostics rather than replacing hardware immediately.
Maintenance Tips After LED Video Wall Installation
Successful installation is just the beginning of your display’s journey. To ensure it operates at peak efficiency and lasts as long as possible, regular maintenance is essential.
Here are some key steps to keep your display in top shape:
Clean the Ventilation Holes
Dust accumulation can hinder performance and reduce lifespan. Make it a habit to clean the ventilation holes regularly to allow for proper airflow.
Check Cable Connections
Regularly inspect cable connections to ensure they are secure. Loose or damaged cables can lead to performance issues or even display failures.
Firmware Updates
Stay informed on firmware updates from the manufacturer. Updating the firmware as recommended can enhance functionality and security.
Inspect Components
When performing maintenance, don’t overlook the connectors, power supplies, and receiving cards. Checking these components can help you identify and resolve potential problems before they escalate.
By prioritizing regular maintenance, you’ll reduce the risk of breakdowns and save your business from costly repairs down the line. Remember, taking a proactive approach can make all the difference in keeping your display running smoothly for years to come.
Professional Tips for Better Results
A few simple practices can make a significant difference in the quality of an LED video wall installation.
- Verify every cabinet before mounting it.
- Label power and signal cables during installation.
- Keep spare cables and connectors available for emergencies.
- Test the complete display before delivering the project to the customer.
These small steps often prevent hours of troubleshooting later.
Choose The Right Experts For Your LED Video Wall Installation
Building an LED video wall involves much more than simply choosing high-quality display panels. To achieve optimal performance, several essential components come into play, including controllers, receiving cards, signal cables, power supplies, connectors, and mounting hardware. These elements collectively determine how well the entire system functions. SinaPlug, in partnership with AzarPixel—one of the leading names in Video Wall Design and Installation in the USA—provides reliable LED display parts for a range of audio-visual applications, making it a preferred choice among industry professionals.
Whether you’re designing a captivating indoor display or constructing a massive outdoor video wall, our high-quality products and expert technicians ensure that your setup operates flawlessly, is easy to maintain, and boasts a long lifespan. By incorporating our LED display components, you can be confident in achieving both peak performance and long-term system stability.
Final Thoughts
Whether building a new LED video wall or expanding an existing one, investing in high-quality materials is crucial for performance and longevity.
Adhering to industry best practices can reduce downtime, enhance image quality, and simplify maintenance. A well-installed LED video wall ensures striking visuals and reliable performance.
For expert advice and recommendations, contact SinaPlug, or reach out to AzarPixel for professional installation and maintenance support. Investing in proper installation will pay off, resulting in a dependable and impressive display.